
Pottery from the Ground Up: Your First Season at the Wheel
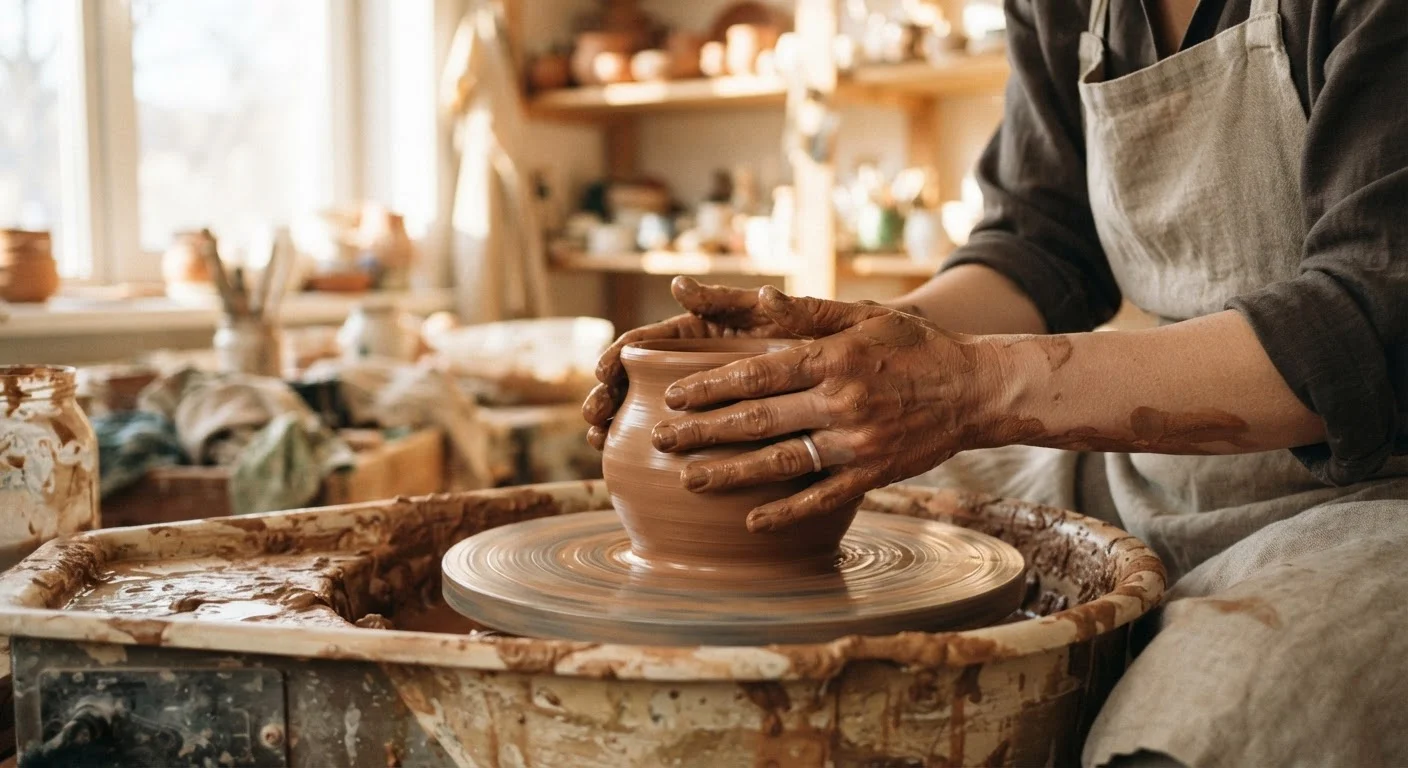
Photo credit: TrendingExperts.net
In this article
Never touched clay before? This beginner-friendly overview covers tools, techniques, and what to realistically expect your first time.
Key Takeaways
- Wheel throwing requires consistent practice - most beginners take several sessions before clay starts cooperating.
- Community studio classes are the most accessible and affordable entry point for new potters.
- Centering clay on the wheel is the single most important foundational skill to master first.
- Expect to ruin pieces; that's part of learning, not a sign you're doing it wrong.
- Basic tools cost little, but studio fees and kiln access are the real ongoing expenses to budget for.
Why Pottery? The Case for Getting Your Hands Dirty
Pottery has a way of pulling people in - and holding them. There's something almost meditative about the act of shaping a spinning lump of clay into something useful or beautiful with your bare hands. It's tactile, immediate, and completely absorbing in a way that screens simply can't replicate.
Beyond the sensory appeal, wheel throwing sits at a fascinating intersection of craft, science, and art. The physics of a spinning wheel, the chemistry of kiln-fired clay, the geometry of a well-thrown bowl - it all comes together in an object you made yourself. For everyday readers looking to explore creative arts, pottery is one of the most rewarding entry points into the handmade world. Just like building a new physical practice from scratch, starting pottery requires patience with yourself and realistic expectations - but the payoff is genuinely exciting.
Wheel throwing
The process of shaping clay into a vessel using a spinning pottery wheel and your hands. It's the technique most people picture when they think of pottery.
Centering
The foundational step of pressing clay into the exact center of the spinning wheel so it rotates without wobbling. Mastering this makes every other step possible.
Bisque firing
The first kiln firing that hardens raw, dry clay into a durable ceramic state. Pieces are bisque fired before glaze is applied.
Wedging
A preparatory kneading process that removes air bubbles from clay and makes it uniform. Skipping it can cause pieces to crack or explode in the kiln.
Rib
A flat hand tool - usually wood, metal, or rubber - used to smooth, shape, and compress clay walls while throwing on the wheel.
Stoneware
A dense, durable type of clay widely used in functional pottery. It's forgiving for beginners and fires to a sturdy finish suitable for everyday use.
What You'll Need to Get Started
The good news for beginners: you don't need much to get started, and you certainly don't need to own a wheel. Here's a practical breakdown of what matters early on.
- A class or studio access: Community art centers, local colleges, and independent pottery studios are your best first step. Look for beginner wheel-throwing courses that include clay and studio time in the fee.
- Basic hand tools: A wire clay cutter, a wooden rib, a sponge, and a needle tool are the core kit. Many studios provide these or sell starter sets affordably.
- Clay: Beginner-friendly stoneware is standard. Your studio will often supply it; if you need to buy your own, 25-pound bags are a common starting quantity.
- Appropriate clothing: Wear something you don't mind ruining. Clay stains are persistent - an apron helps, but expect to get messy anyway.
Resist the urge to invest heavily in equipment before you've taken even a few classes. Getting a feel for the wheel first will tell you far more about what you actually need than any gear list.
Try Before You Buy Any Equipment
Take at least four to six classes before spending money on personal tools or clay. Most studios include basic tools in class fees. Buying a wheel or kiln before you've established a real practice is a common and costly mistake that's easy to avoid.
Core Wheel-Throwing Techniques for Beginners
Wheel throwing breaks down into a sequence of steps, each of which takes time to internalize. Here's what you'll be working on:
- Wedging: Before the wheel even spins, clay must be wedged - a kneading process that removes air bubbles and creates a uniform consistency. Think of it like preparing dough. Air pockets left in clay can cause pieces to crack or explode in the kiln.
- Centering: This is the most critical and most frustrating step for beginners. You'll press and coax the clay into the exact center of the spinning wheel head using both hands. Until the clay is centered, nothing else works properly. Most instructors agree: centering is where the real learning happens.
- Opening: Once centered, you push down into the clay to create the floor of your vessel, then pull outward to define the interior width.
- Pulling walls: By squeezing the clay between your inside fingers and outside hand while the wheel spins, you draw the walls upward and thin them out. This is where vessels start to take shape.
- Shaping and finishing: Ribs, sponges, and subtle hand pressure refine the profile. A wire tool cuts the finished piece free from the wheel head.
After throwing, pieces must dry slowly before being trimmed, then fired in a kiln - first a bisque firing, then a glaze firing. Your studio handles kiln access as part of most class structures.
What to Realistically Expect Your First Season
Let's be honest: your first pots will probably be lopsided, thick-walled, and humble. That's not failure - that's pottery. Even experienced potters produce work they recycle back into clay. What you're really building in that first season isn't a collection of finished objects; it's muscle memory, sensitivity in your hands, and an intuitive relationship with how clay behaves.
Most beginners report a distinct turning point - often around the 8th to 12th session - where centering starts to click and forms become more intentional. Getting there requires showing up consistently, which is why signing up for a full multi-week course rather than drop-in sessions tends to produce faster progress.
Your Studio Handles the Kiln
Beginners rarely need to worry about kiln operation - that's managed by the studio as part of class enrollment or membership fees. Kilns fire at extremely high temperatures and require trained handling. Focus on the wheel; your instructor and studio staff will guide you through the firing process when the time comes.
It's also worth knowing that glazing results can be unpredictable early on. Glaze chemistry and kiln atmosphere affect the final color and surface in ways that are hard to fully control until you've built experience. Embrace the surprises - many potters consider unexpected glaze results part of the medium's charm.
Building Your Practice and Going Further
Once you've completed a beginner course, the path forward opens up in several directions. Many students return for intermediate classes focusing on more complex forms - lidded vessels, handles, or altered shapes. Others explore hand-building techniques like coiling and slab construction, which complement wheel work nicely.
If you find yourself deeply hooked, you might eventually consider a studio membership - a monthly fee that gives you open access to wheels and kiln time outside of class hours. This is where real skill development accelerates. Some studios also offer glaze chemistry workshops, surface decoration techniques, and community critique sessions that elevate your understanding of the craft.
Starting a new practice from scratch has a kind of electricity to it - that same feeling applies whether you're building a grooming routine for the first time or throwing your first cylinder. The willingness to be a beginner is, genuinely, a skill in itself. Pottery rewards that willingness with something rare: a handmade object that carries the unmistakable mark of the person who made it.
Local Community Art Centers
Many cities have community art centers or ceramic guilds that offer subsidized beginner pottery classes. Search for one near you - they're often the most affordable and welcoming entry point for first-time potters.
Pottery Wheel Technique Guides
Written guides and video tutorials from established ceramics instructors can supplement your in-studio learning. Look for resources produced by accredited art schools or professional ceramic artists.
Studio Membership Directories
Several online directories list ceramic studios offering open studio memberships. These are invaluable once you've completed a beginner course and want more wheel time outside of class hours.
Frequently Asked Questions

Author
Entertainment Editorial Team
Entertainment Editorial Team is the collective byline for our editorial team and contributor network. Articles published under this byline or an editorial pen name are researched, written, and reviewed according to our editorial standards for clarity, consistency, and independence before publication.
View all articles →