
Setting Up a New Phone Without Losing Your Old Data
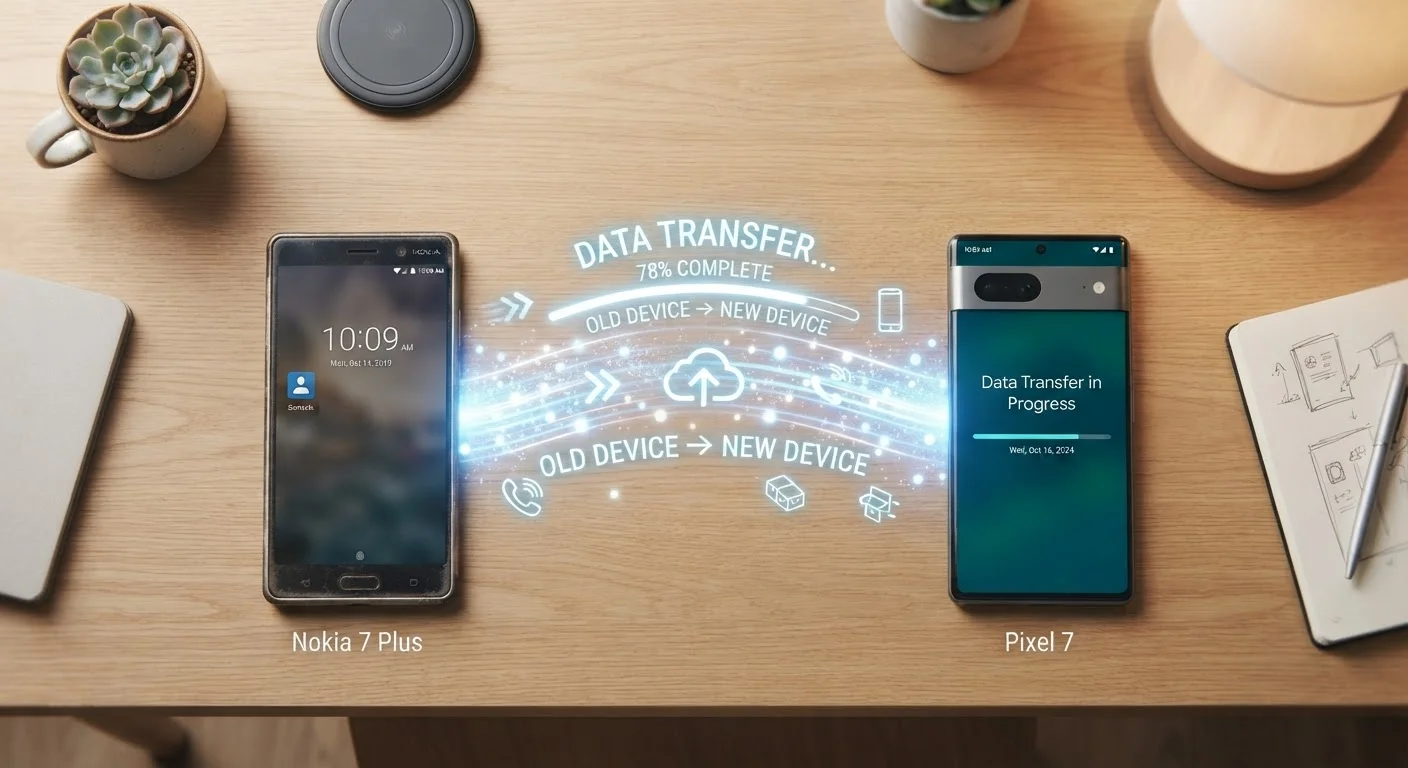
Photo credit: TrendingExperts.net
In this article
A step-by-step walkthrough for transferring contacts, photos, and apps when switching to a new smartphone — for both Android and iPhone.
Key Takeaways
- Back up your old phone to the cloud or a computer before doing anything else.
- Both Android and iPhone have built-in transfer tools that handle contacts, photos, and apps automatically.
- Switching between Android and iPhone requires extra steps, including a dedicated migration app.
- Verify all your data on the new phone before wiping or selling your old device.
- Re-enable sync settings on your new phone to keep data consistent across devices going forward.
Why Phone Transfers Go Wrong - and How to Avoid It
Most data loss during a phone switch isn't caused by a technical failure - it's caused by skipping the backup step or assuming everything transferred automatically. Contacts saved only to your SIM card, photos stored locally (not in a cloud album), and app login credentials are the three categories most commonly left behind.
The good news: both Android and iPhone have made the transfer process significantly more reliable in recent years. As long as your old phone has been syncing to a cloud account - Google for Android, iCloud for iPhone - the vast majority of your data will follow you to the new device with minimal effort. Understanding how syncing works behind the scenes can help you verify that sync was actually running on your old phone before you begin.
What you will need
What You'll Need
Gathering the right tools before you start prevents frustrating mid-transfer interruptions. A stable Wi-Fi connection is arguably the most important - transfers attempted over mobile data are slower, less reliable, and may consume significant data allowance.
Google One / Google Account backup
Automatically backs up Android contacts, photos, app data, and settings to Google's cloud.
iCloud
Backs up iPhone data - including photos, messages, and app data - to Apple's cloud service.
Move to iOS app (Android → iPhone)
Apple's official app that securely transfers data from an Android phone to a new iPhone over Wi-Fi.
USB transfer cable
Allows a direct wired connection between phones during the Android setup wizard transfer process.
If you're moving from one ecosystem to the other (say, from an Android to an iPhone), the dedicated migration apps listed above are the most reliable path. Trying to transfer manually - by emailing yourself photos or exporting contacts as files - works in a pinch but is much more tedious and error-prone for large amounts of data.
Step-by-Step: How to Transfer Your Data
Follow these steps in order. Rushing ahead before a backup is confirmed is the single biggest mistake people make during a phone switch.
Back up your old phone
Before touching your new device, create a full backup of your old one. On Android, go to Settings → System → Backup and confirm that Back up to Google Drive is turned on, then tap Back up now. On iPhone, go to Settings → [Your Name] → iCloud → iCloud Backup and tap Back Up Now. Wait for the backup to complete - the screen will show a timestamp when it finishes.
Choose your transfer method
Your transfer path depends on which phones are involved. Android to Android: use the built-in setup wizard, which offers to copy data from your old phone via a cable or Wi-Fi. iPhone to iPhone: use Quick Start, which appears automatically when you hold the two phones near each other. Android to iPhone: download the free Move to iOS app on your Android before starting setup on the iPhone. iPhone to Android: use Google's Switch to Android app, available in the App Store.
Power on your new phone and start setup
Turn on your new phone and follow the on-screen setup prompts. When asked, select your language, connect to Wi-Fi, and choose to restore from backup or copy from old phone rather than setting up as new. Log in with your Google account or Apple ID when prompted - this is the key that unlocks your backed-up data.
Transfer contacts, photos, and apps
Once you sign in, the setup wizard will begin restoring your data. Contacts synced to your Google or Apple account restore automatically in the background. Photos stored in Google Photos or iCloud will re-download as you open the app. Apps are reinstalled from your account's purchase history - on Android look for Restore apps, and on iPhone the App Store restores purchases automatically. Depending on your connection speed, full photo and app restoration may continue for an hour or more after setup completes.
Re-enable sync and notifications
After setup, verify that sync is active so your data stays current. On Android: Settings → Accounts → [your Google account] → Account sync. On iPhone: Settings → [Your Name] → iCloud and confirm the toggles you need are on. You'll also want to re-enable notification permissions for individual apps - these are not always transferred automatically and must be granted fresh on the new device.
Verify your data, then secure your old phone
Spend a few minutes confirming your contacts, photos, and key apps are present and working on the new device. Check your most-used apps and log back into any that require separate sign-ins (banking apps, streaming services, and two-factor authentication apps typically need manual re-login). Only after you're satisfied should you factory reset your old phone: Settings → General → Transfer or Reset iPhone → Erase All Content (iPhone) or Settings → General Management → Reset → Factory Data Reset (Android). This protects your personal data before you trade in or sell the device.
Don't Reset Your Old Phone Too Soon
A factory reset permanently erases all data on your old phone. Only perform this step after you have fully verified that contacts, photos, and critical app data are confirmed on your new device. Once erased, locally stored data that was never backed up cannot be recovered.
After the Transfer: What to Check
Even a smooth transfer can leave a few loose ends. Two-factor authentication (2FA) apps - such as authenticator apps that generate login codes - store their data locally and typically do not transfer automatically. Before resetting your old phone, migrate your 2FA accounts manually using the app's built-in transfer or export function, or you risk losing access to secured accounts.
Battery behavior on a new phone can also feel different at first. If your new device seems to drain faster than expected in the first few days, that's often background apps reinstalling and re-indexing data. If it persists, learn what might be draining your battery to rule out a settings issue early.
Log Back Into Apps Before You Forget
Set aside 10-15 minutes after your transfer completes to re-authenticate apps that require separate logins - especially banking, email, and any app tied to a work account. Having your passwords accessible (via a password manager or written list) before you start saves significant frustration.

Author
Technology Editorial Team
Technology Editorial Team is the collective byline for our editorial team and contributor network. Articles published under this byline or an editorial pen name are researched, written, and reviewed according to our editorial standards for clarity, consistency, and independence before publication.
View all articles →