
Heat Styling Without Compounding Damage: What a Protective Routine Actually Involves
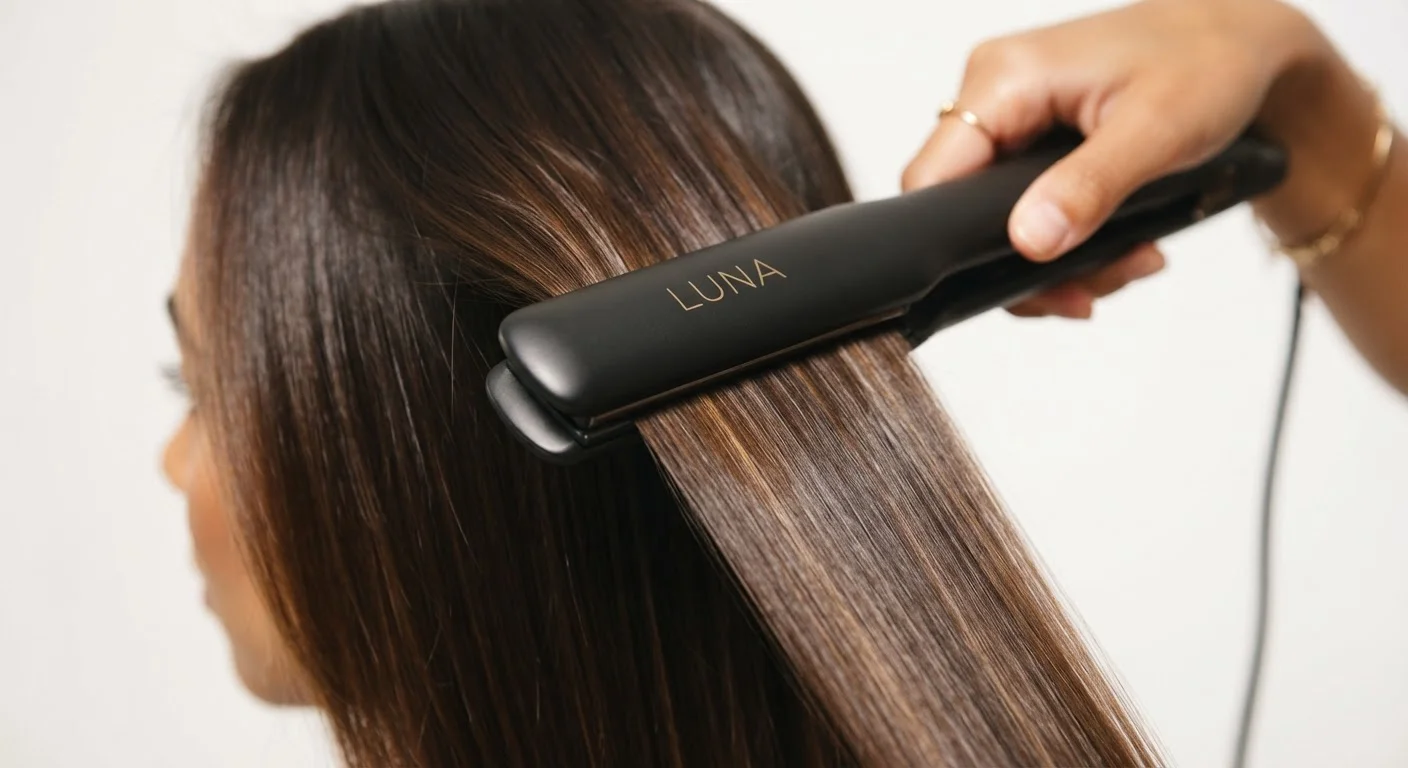
Photo credit: TrendingExperts.net
In this article
Heat tools don't have to mean chronic damage. This article explains the mechanisms of heat harm and the practices that genuinely reduce it.
Key Takeaways
- Heat damages hair by breaking down keratin proteins and disrupting the cuticle layer.
- A genuine heat protectant must be applied to damp or dry hair before any tool touches it.
- Lower temperatures and fewer passes reduce cumulative damage more than any single product.
- Hair porosity affects how much heat protection a strand actually needs.
- Air drying to about 80% before blow-drying minimizes the total time hair spends under heat.
How Heat Actually Damages Hair
Hair is primarily composed of a protein called keratin, organized into an outer cuticle layer and an inner cortex. When heat is applied, it drives water out of the hair shaft rapidly - a process that can cause the cuticle scales to lift, crack, and eventually break off. At temperatures above roughly 320°F (160°C), the disulfide bonds that give hair its structural strength can begin to degrade, leading to what scientists call thermal denaturation.
The damage isn't always visible after a single session. It accumulates with repeated exposure - each pass of a flat iron or blow-dryer adds to microscopic weakening that eventually shows up as frizz, breakage, and dullness. Understanding this mechanism matters because it reframes heat protection as a structural priority, not a cosmetic one.
If you're unsure how your hair's individual characteristics affect its vulnerability, understanding your hair's porosity and thickness is a useful starting point - high-porosity hair, for instance, loses moisture faster and often needs more deliberate protection.
What a Heat Protectant Actually Does
Heat protectants work through two primary mechanisms: forming a film over the cuticle that slows moisture loss, and raising the temperature at which the hair protein begins to break down. Most formulations use silicones, polymers, or natural film-forming ingredients to achieve this barrier effect.
Apply Before Heat, Not After
The most common heat protectant mistake is using it as a finishing product rather than a pre-styling step. Applied after heat, a protectant can add shine but cannot undo structural damage already done. Work it evenly through damp or dry hair before any tool makes contact, and distribute it with a wide-tooth comb to avoid product-heavy spots.
The key detail most people miss is application timing. A protectant applied to already-dry hair just before a flat iron provides far less benefit than one worked evenly through damp hair before blow-drying. The product needs time to coat each strand fully before heat is introduced. For air-dried or already-dry styles, a lightweight leave-in spray applied and allowed to settle for at least two minutes before tool contact is the minimum standard.
If you want context on specific ingredients commonly found in these products - including silicones - the evidence on silicones and other hair product staples cuts through a lot of online misinformation.
The Practices That Genuinely Reduce Heat Damage
Protection isn't a single product decision - it's a sequence of habits applied consistently. The following practices reflect what the evidence supports for reducing cumulative thermal harm.
Air dry hair to approximately 80% before applying a blow-dryer or hot tool
The greatest heat damage occurs when tools contact soaking-wet hair, because evaporating water creates steam inside the shaft that can cause bubble formation - a phenomenon researchers call 'hygral fatigue' bubbling. Reducing initial moisture dramatically shortens total heat exposure time.
Use the lowest effective temperature setting for your hair type
Fine or chemically processed hair can be styled effectively at lower temperatures than thick, coarse hair. Using a high setting universally applies unnecessary heat. Each 50°F reduction in tool temperature meaningfully lowers the rate of protein degradation over time.
Limit passes - style each section in one or two sweeps rather than repeatedly
Multiple passes over the same section compound damage faster than temperature alone. Each additional pass applies heat to already-stressed keratin, accelerating structural breakdown and cuticle lifting.
Keep tools moving rather than holding them stationary on any section
A stationary tool concentrates heat at one point, raising local temperature well above the tool's dial setting. Continuous movement distributes heat more evenly and prevents localized protein breakdown.
Schedule deliberate heat-free days into your weekly routine
Hair does not self-repair in the way skin does, but reducing cumulative exposure slows the rate of visible damage significantly. Regular heat-free periods preserve existing integrity longer.
Fitting these habits into a broader routine is easier when you have a clear framework for the order of steps. A well-structured daily grooming routine can clarify exactly where heat styling sits relative to washing, conditioning, and finishing steps.
Quick Actions You Can Take Today
Overhauling a styling routine all at once is rarely sustainable. These starting points let you meaningfully reduce damage without changing everything at once.
For readers who also want to audit their wash-day habits - since clean, well-conditioned hair responds better to heat - common hair washing mistakes is worth reviewing alongside this guidance.
This article is for general informational and educational purposes only. It does not constitute professional medical or dermatological advice. If you have concerns about hair loss, scalp conditions, or underlying health issues affecting your hair, consult a qualified healthcare professional.

Author
Beauty Editorial Team
Beauty Editorial Team is the collective byline for our editorial team and contributor network. Articles published under this byline or an editorial pen name are researched, written, and reviewed according to our editorial standards for clarity, consistency, and independence before publication.
View all articles →