
Nail Care From Start to Finish
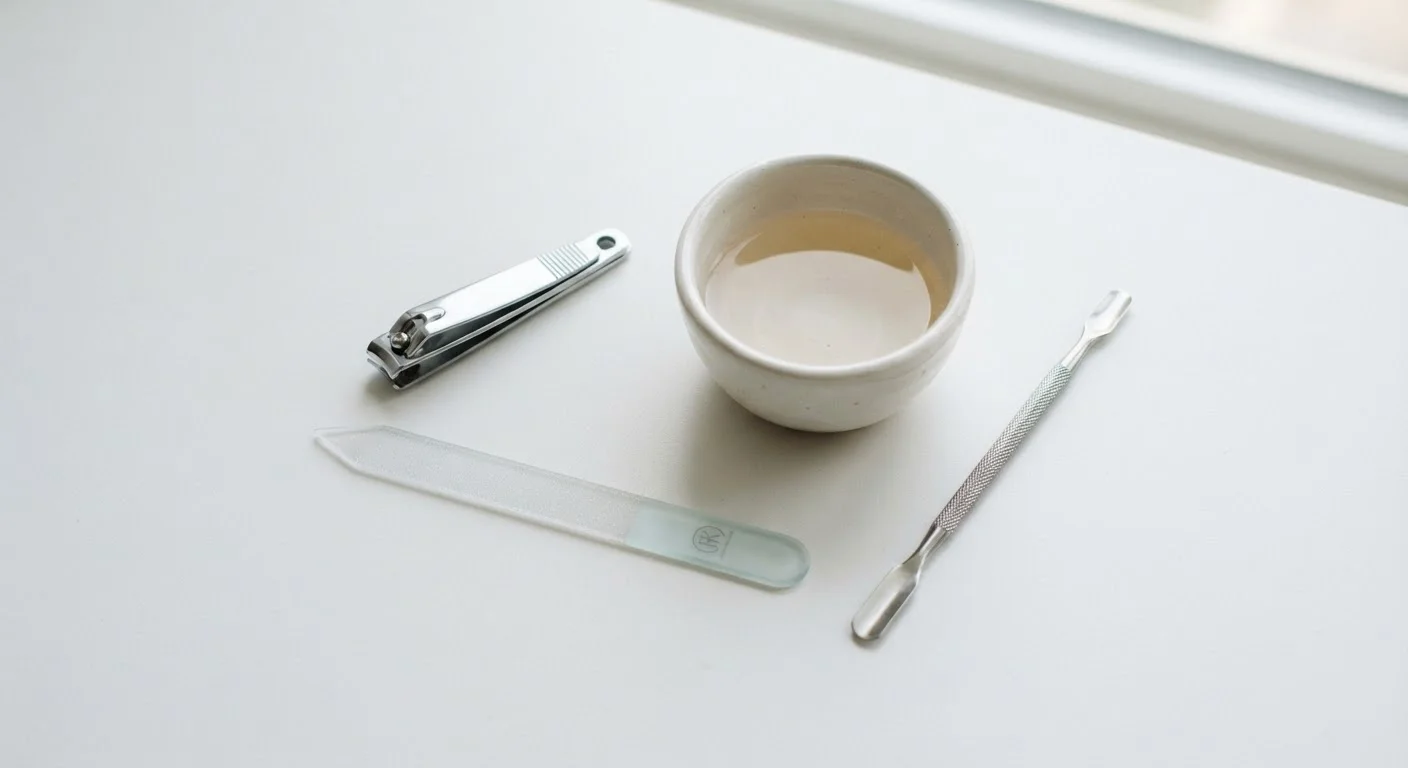
Photo credit: TrendingExperts.net
In this article
A clear, step-by-step walkthrough of proper nail care at home—trimming, filing, cuticle maintenance, and keeping hands looking clean and healthy.
Key Takeaways
- Trim nails after soaking or bathing when they are softest and easiest to cut cleanly.
- Always file in one direction to prevent nail splitting and fraying at the edges.
- Cuticles protect the nail matrix - push, don't cut, to protect the nail's growing base.
- Moisturizing hands and nails after every wash is the most overlooked step in nail care.
- A consistent 10-20 minute weekly routine prevents most common nail problems before they start.
Why a Basic Nail Routine Actually Matters
Nail care often gets lumped into the category of purely aesthetic grooming - something optional, or reserved for salon visits. In practice, the condition of your nails is a genuine marker of hygiene and overall hand health. Nails that are overgrown, jagged, or neglected trap bacteria and debris, create snagging hazards, and can lead to painful conditions like ingrown nails or cuticle infections.
The good news is that a solid nail care routine requires no special skills and very few tools. Whether you are completely new to grooming or simply want to be more deliberate about it, this walkthrough will cover everything you need to keep fingernails and toenails clean, shaped, and healthy - without overcomplicating it. For a broader look at how nail care fits into your overall grooming habits, see our daily grooming routine overview.
Nail Clippers
Used to trim nails to the desired length cleanly and safely.
Nail File or Emery Board
Smooths and shapes the free edge of the nail after clipping.
Cuticle Pusher
Gently pushes back softened cuticles without cutting or damaging them.
Small Bowl of Warm Water
Soaking nails for a few minutes softens them for easier, cleaner trimming.
Hand and Nail Moisturizer
Replenishes moisture to the hands, cuticles, and nail plate after grooming.
Nail Brush
Cleans debris from underneath nails and around the nail fold during washing.
Step-by-Step Nail Care Instructions
Work through these steps in order. The sequence matters - softening before trimming, trimming before filing, and moisturizing last. Most people can complete the full routine in under 20 minutes once they have done it a few times. For a full list of what to keep in your grooming kit, the grooming essentials guide is a useful companion reference.
What you will need
Soften Your Nails Before You Start
Hard, dry nails are far more likely to crack or split when cut. The simplest solution is to do your nail care immediately after a shower or bath, when nails have naturally absorbed moisture and are pliable. Alternatively, soak your fingertips in a small bowl of warm water for three to five minutes.
Trim to the Right Length
Use sharp nail clippers - dull clippers crush rather than cut, creating micro-cracks that lead to peeling. For fingernails, follow the natural curve of the fingertip, leaving a sliver of white free edge visible. For toenails, cut straight across to reduce the risk of ingrown nails. Make several small cuts rather than one large clip across the entire nail.
Shape and Smooth With a File
After clipping, any jagged or uneven edges need to be filed smooth. Hold the file at roughly a 45-degree angle to the nail edge and move it in one direction - from the outer corner toward the center on each side. Sawing back and forth creates friction that weakens the nail structure and causes fraying.
Gently Push Back Cuticles
Cuticles are the thin layer of skin that seals the base of the nail, protecting the nail matrix - the living tissue responsible for nail growth - from bacteria and moisture. They should never be cut routinely. Instead, after soaking, use a rubber-tipped or wooden cuticle pusher to gently slide the softened cuticle back toward the base of the nail. Apply light, even pressure and work slowly around each nail.
Clean Under and Around the Nails
Use a small nail brush with mild soap and warm water to scrub underneath the free edge and along the nail fold - the skin ridge where the nail meets the finger. This removes debris, dead skin, and bacteria that collect in these areas. Rinse thoroughly and pat your hands dry with a clean towel, paying attention to the spaces between fingers.
Moisturize Hands, Cuticles, and Nails
Nails are porous and lose moisture throughout the day, becoming brittle and prone to breaking. Apply a hand and nail moisturizer as the final step, massaging it into the nail plate, the cuticle area, and the surrounding skin. This step is just as important as the trimming itself - and should be repeated after every handwashing session, not just during your weekly grooming routine.
Keeping It Up Between Sessions
A once-a-week grooming session takes care of the heavy lifting, but a few small habits in between make a meaningful difference. Moisturize after every handwashing - soap and water strip the skin and nails of their natural oils, and skipping this step is the most common reason nails become brittle. Wear gloves when doing dishes or working with harsh cleaning products. And resist the urge to use your nails as tools for prying, scraping, or picking, which stresses the nail plate at its weakest point.
If you notice persistent discoloration, thickening, or separation of the nail from the nail bed, these can be signs of a fungal infection or other condition that warrants a conversation with a healthcare professional - general nail care at home is not a substitute for medical evaluation. For anyone building these habits as part of a larger self-care practice, our guide on long-term grooming habits explores routines that compound over time. Nail care is one of the simplest entries in that list - and one of the most consistently rewarding.
Build the Habit With a Weekly Reminder
Pick one consistent day and time each week - Sunday evening works well for many people - and treat nail care like any other recurring task. Keeping your tools in a visible, accessible spot removes the friction of having to search for them. Consistency is what separates maintained nails from neglected ones, not effort or skill.
This article is for general informational purposes only and does not constitute medical advice. If you have concerns about the health of your nails or surrounding skin, consult a qualified healthcare professional.

Author
Beauty Editorial Team
Beauty Editorial Team is the collective byline for our editorial team and contributor network. Articles published under this byline or an editorial pen name are researched, written, and reviewed according to our editorial standards for clarity, consistency, and independence before publication.
View all articles →